Monday 20 March 2017

Chipboard Pendant for DecoArt


I used to do a lot of jewellery making but I kind of got out of the habit (and frankly I don't get enough time to do one hobby let alone two!). But there is something really nice about wearing pieces that you've made yourself so today I've combined mixed media with jewellery to create a chipboard pendant. Chipboard is cheap, lightweight and easy to work with. A couple of coats of gloss varnish make the piece relatively sturdy to wear - but avoid going out in a monsoon as it's still basically made of paper!

DecoArt products used:
Media Fluid Acrylics - Pyrrole Red, Pyrrole Orange
Media Gesso - White
Metallic Lustre - Gold Rush
Media Varnish - Gloss


Other:
Tando Creative Chipboard (from their offcuts pack)

Crafter's Companion Stamps by Deborah Wainwright
Permanent black inkpad

White paint pen
Printed word

Here's how I made it:

1) Cover the chipboard piece with white gesso front and back to prime it.
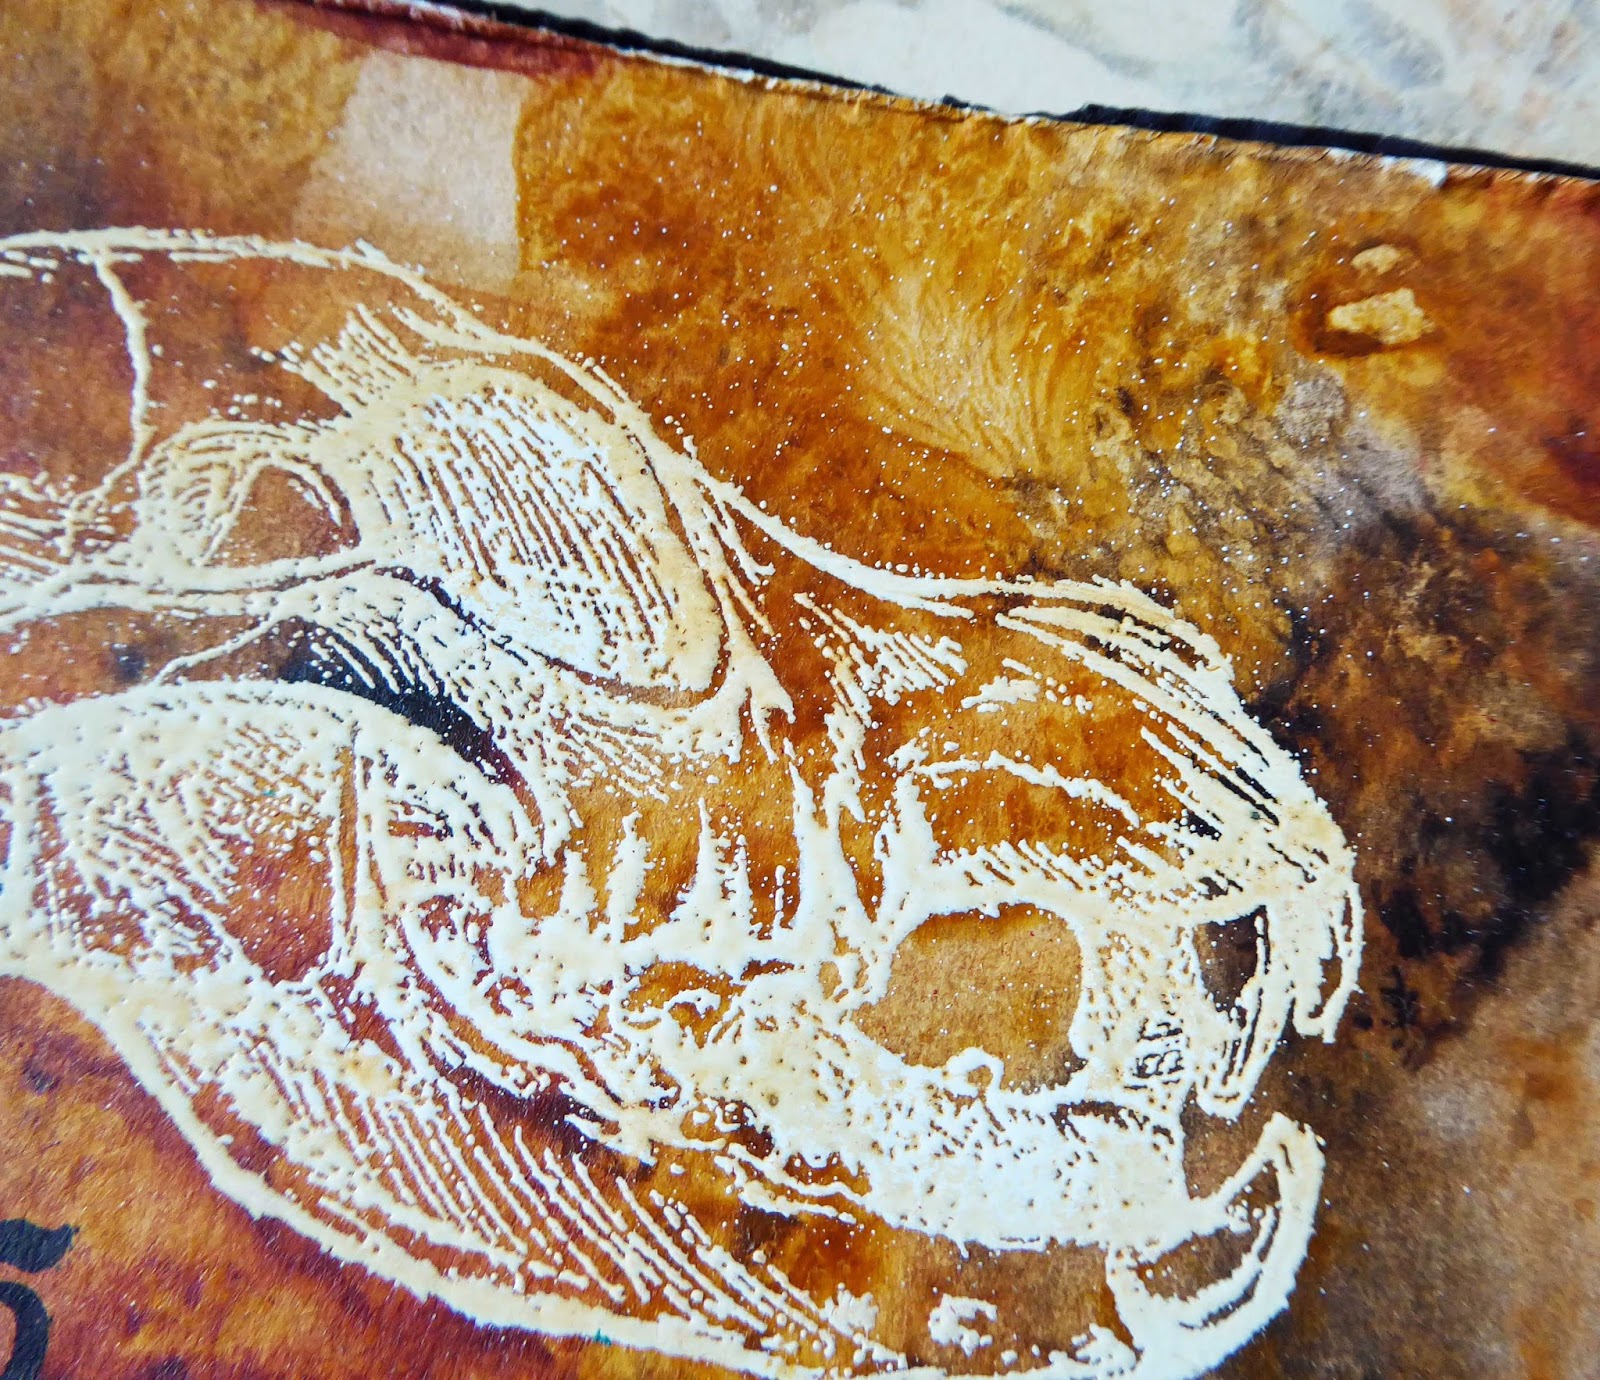
2) Apply red and orange paints randomly with your fingers to get a two-tone background. Repeat on the back.
3) Allow to dry then stamp over with an image in black ink and apply a printed word. Also stamp a partial image to the back to finish it off neatly.
4) Apply two coats of gloss varnish, allowing drying time between coats.
5) Finish with dots of white paint pen and gold lustre all around the edge.
6) Add a glue bail and some faux suede cord if you want to wear it - or use an embellishment if you don't!

Katy x

Friday 17 March 2017

Stampendous/DecoArt Blog Hop - Handle with Care


It's the last day today of our our joint Stampendous/DecoArt Blog Hop and I'm sharing a mini journal page with you. I recently treated myself to a tiny weeny Moleskine watercolour journal and I love working in it - the small size is perfect for quick journaling or journaling on the go. I'm using this specific journal for mindfulness and self-care so there is a theme running through it which is echoed in the sentiment on this page - a reminder to be gentle with myself!


Prizes!!!!! Comment to win one of three HUGE prize packages that includes Andy Skinner stamps and DecoArt Media™ Paint plus more!  US winners only, see Stampendous Official Contest Rules here for more details.

Today's Hop List:

Stampendous Blog

Pam Bray

Jamie Martin

Louise Healy

Asia King

Janelle Stollfus

Lea Fritts

Alison Heikkila

DecoArt Blog


Here's how I made it (apologies for the state of the photos - it was late at night!):

1 Use a paintbrush, bottle lid and credit card to make marks in Payne's Grey paint onto the journal page (this is a technique I learned in Nathalie Kalbach's Creative JumpStart and I love it!)

2 Apply Cobalt Teal Hue and Cobalt Turquoise Hue paints over the top - the Fluid Acrylics from DecoArt are translucent and let all those lovely marks show through!

3) Colour a die cut heart with Pyrrole Red paint. When dry, stamp with the heart from the Handle with Care set to add texture.

4) Add random background stamping using Andy's Steampunk set. Add stencilled dots using the Pixelated stencil from DecoArt. Draw around the heart die cut with a Stabilo All pencil and blend out the pencil to create a shadow. Add scribbly lines with a paint pen.

5) Glue the heart in place and doodle around with white paint pen. Stamp the sentiment from the set and cut it up. Ink the edges to distress before sticking it in place.

Thanks for your visit today! Don't miss the other blogs.

Katy x

Thursday 16 March 2017

DecoArt/Stampendous Blog Hop - Specimen2675


Welcome to day four of the Stampendous/DecoArt blog hop - hope you've been enjoying all the inspiration so far! Today I've used Andy's Skulldoggery stamp set to create a kind of faux fossil effect on a tag.

Comment for a chance to win one of three HUGE prize packages that includes Andy Skinner stamps and DecoArt Media™ Paint plus more! US winners only, see Stampendous Official Contest Rules here for more details.

Here's the hop list for today:

Stampendous Blog

Louise Healy

Elly Pirally

Lea Fritts

DecoArt Blog


Sorry, I didn't manage to take any step pictures of this but briefly here's how I made it:
1 Cut a tag from mixed media or watercolour paper - something that can take wet media.
2 Squeeze drops of Yellow Oxide, Burnt Sienna and Raw Umber paints onto a craft sheet or other non-stick surface. Spray generously with water.
3 Swipe the tag into and through the paints - lightly so as not to over-mix the colours. Dry and repeat until you like the result. I was aiming for a look similar to natural rock (did I manage it?).
4 Stamp and heat emboss the skull stamp with white Stampendous embossing powder. When cool, add a wash of Yellow Oxide paint to tone down the white a little bit and blend the skull into the tag.
5 Finally stamp the wording in black, distress the edges of the tag and mat onto black cardstock.

Katy x

Thursday 9 March 2017

Poppy Canvas for DecoArt


Here's a sneak peek of my poppy canvas, appearing on the DecoArt Media Blog today with a full step-by-tutorial. Hope you enjoy it!

Katy x

Tuesday 7 March 2017

Butterfly Effect for Stampendous


Today I'm sharing something a bit different, a jewellery piece I created using Frantage Embossing Enamels. The basis of my pendant is an old domino - they make great working surfaces for a project like this as they can take a ton of heat. I called my piece 'The Butterfly Effect' as the swirls and colours have kind of a chaotic, turbulent feel.

Stampendous products used:
Cling Stamp: Starry Swirls (CRR284)
Frantage Embossing Enamels: Aged Teal, Aged Marine, Aged Wine
Versamark Watermark Inkpad

Other:
Domino
Glue bail
Butterfly charm (mine's from Vintaj)

Here's how I made it:

1 Cover a domino well with Versamark. Also ink up your stamp with Versamark ready for step 3.

2 Sprinkle with different colours of powder in different areas and heat. If the surface is lumpy add a little more powder and reheat until smooth.

3 Working quickly while the powder remains hot, press the pre-inked rubber stamp into the molten powder. Leave for a few seconds to cool a little before peeling away to reveal the design. 

To finish: Use a silver permanent pen (e.g. Krylon) to colour the edges. Add the bail and butterfly embellishment and it's done!

Katy x

Wednesday 1 March 2017

DecoArt Andy Skinner Blog Hop


Prepare for dark and maybe even scary this week as DecoArt and Stampendous join forces and we get to play with Andy Skinner's fantastic new stamps!

I've had a lifelong fear of clowns... not totally sure why... Could be that I had a Jack-in-the-Box when I was very small that terrified the life out of me. Could be that I got addicted to serial killer books (still am) at an inappropriately young age - John Wayne Gacy - shudder......... Whatever the reason, I hate clowns! So there was only one way to go with Andy's skull with clown nose stamp and that was cathartic! As I started to express my fears my journal page got a little bit macabre; sorry about that! But if I haven't scared you away yet, here's a step-by-step tutorial of how I created my journal page.


DecoArt products used:
Media Crackle Paste
Media Crackle Glaze
Media Antiquing Cream - Black, White
Fluid Acrylics - Payne's Grey, Dark Grey Value 3, Carbon Black, Pyrrole Red
DecoArt Stencil:

Other products:
Stampendous Andy Skinner Stamps
Permanent black inkpad

1) Apply crackle paste through a stencil and allow to dry. Once dry, use a dry brush to roughly apply Payne's Grey and Dark Grey paints.

2) Add some drips of Payne's Grey paint.

3 Stamp the skull with permanent ink. Add some shadowing with a wash of grey paint and paint the nose red. Cover with Crackle Glaze.

4) Allow the glaze to dry fully and cut out the skull. Mix black and white Antiquing Creams to make dark grey and apply all over. Allow to dry.

5) Wipe back the cream with a baby wipe or damp cloth - I wiped most of it away so it was just in the crackles.

6) Place the skull onto your page and draw around it with a pencil. Use the pencil marks as a guide to create a Payne's Grey frame around the area where the skull will go. Mine dripped a bit so I went with it, as it echoed the drips above.

7) Add more stamped detail using the barbed wire image and permanent black ink.

8) Add some splatters of black paint (I used a wooden skewer for this) and stamp the word 'Fear'. At this point I wanted some more contrast so added some red paint drips.

9) To finish glue the skull in place and add some computer-generated wording.

Normal prettiness will be resumed shortly but in the meantime thanks for your visit today! I hope you're not too scared to come back!!!

Katy x